Maintaining an accurate and streamlined chart of accounts in QuickBooks Online is crucial for effective financial management. Deleting an account in QuickBooks Online might be necessary if the account is no longer in use, was created in error, or needs to be removed for organizational purposes. This guide provides detailed instructions on how to delete or deactivate an account in QuickBooks Online.
What is QuickBooks Online and Why Delete an Account?
QuickBooks Online is a cloud-based accounting software that allows businesses to manage their finances, including tracking income, expenses, assets, and liabilities. Deleting an account from your QuickBooks Online chart of accounts can help keep your financial reports relevant and tidy, ensuring that only active accounts are displayed and used.
Steps to Delete an Account in QuickBooks Online
It’s important to note that QuickBooks Online does not allow the complete deletion of an account due to the need to maintain an accurate audit trail. However, you can make an account inactive, which effectively removes it from view and usage in the system. Here’s how to do it:
Step 1: Log Into Your QuickBooks Online Account
Open your web browser, navigate to the QuickBooks Online login page, and enter your credentials to access your account.
Step 2: Access the Chart of Accounts
- Navigate to the Chart of Accounts: Click on the “Accounting” tab on the left sidebar, then select “Chart of Accounts.”
Step 3: Locate the Account to Be Deleted
- Search for the Account: Use the search bar or scroll through the list to find the account you want to make inactive. You can use filters to narrow down the list if you have many accounts.
Step 4: Make the Account Inactive
- Open the Account Options: Click on the drop-down arrow next to the “View register” button on the right side of the account you wish to remove.
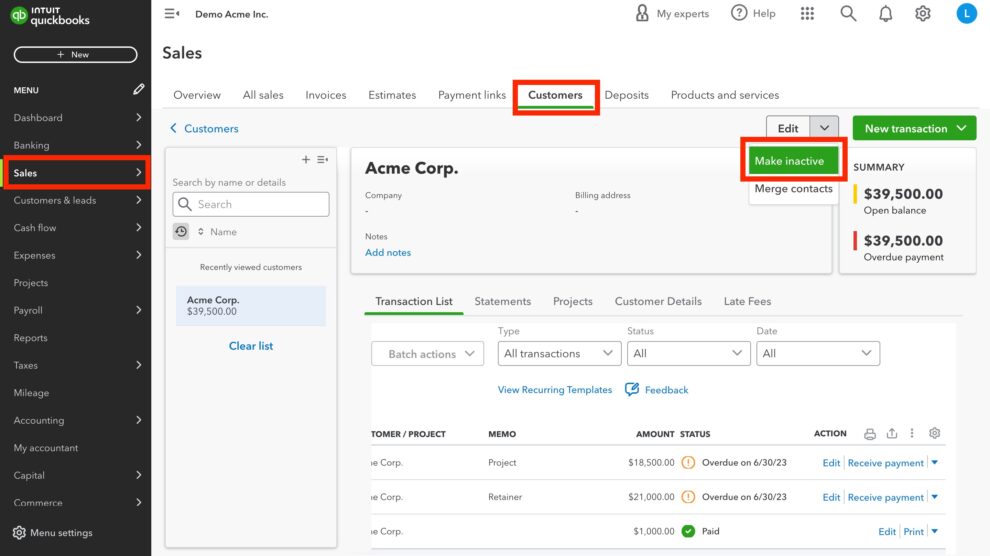
- Choose ‘Make inactive’: Select “Make inactive” from the drop-down menu. This action will hide the account from your chart of accounts and prevent it from being used in future transactions.
Step 5: Confirm the Action
- Confirm Deactivation: QuickBooks Online will prompt you to confirm that you want to make the account inactive. Confirm your choice to proceed. This ensures that the account will no longer appear in your chart of accounts but keeps the historical data intact for reporting and auditing purposes.

Things to Consider Before Making an Account Inactive
- Review Transactions: Check if there are any recent transactions linked to the account. Making an account inactive won’t affect historical data, but it’s important to ensure that all necessary transactions are completed or transferred.
- Impact on Financial Reports: Understand how making an account inactive affects your financial reporting. Ensure it does not disrupt your accounting processes or compliance requirements.
- Backup Your Data: Although not necessary, it’s a good practice to backup your financial data before making significant changes to your chart of accounts.
FAQs About Managing Accounts in QuickBooks Online
Can I reactivate an account after making it inactive?
Yes, you can reactivate an account at any time. Go to the Chart of Accounts, filter to show inactive accounts, find the account, and select “Make active” from the same menu where you previously chose to make it inactive.
What happens to the transactions linked to an inactive account?
Transactions linked to an inactive account will remain in QuickBooks Online and continue to appear in reports where necessary. Making an account inactive simply hides it from routine views and lists but does not delete historical data.
Is there a limit to how many accounts I can make inactive?
No, there is no limit to how many accounts you can make inactive in QuickBooks Online. However, it’s best to keep your chart of accounts as clean and organized as possible to simplify your accounting processes.
Conclusion
Making an account inactive in QuickBooks Online is a straightforward process that helps you manage your chart of accounts more effectively. By following these steps, you can ensure that your financial reporting remains accurate and reflective of your current business operations, while also keeping your historical data intact for auditing and analysis.


Add Comment