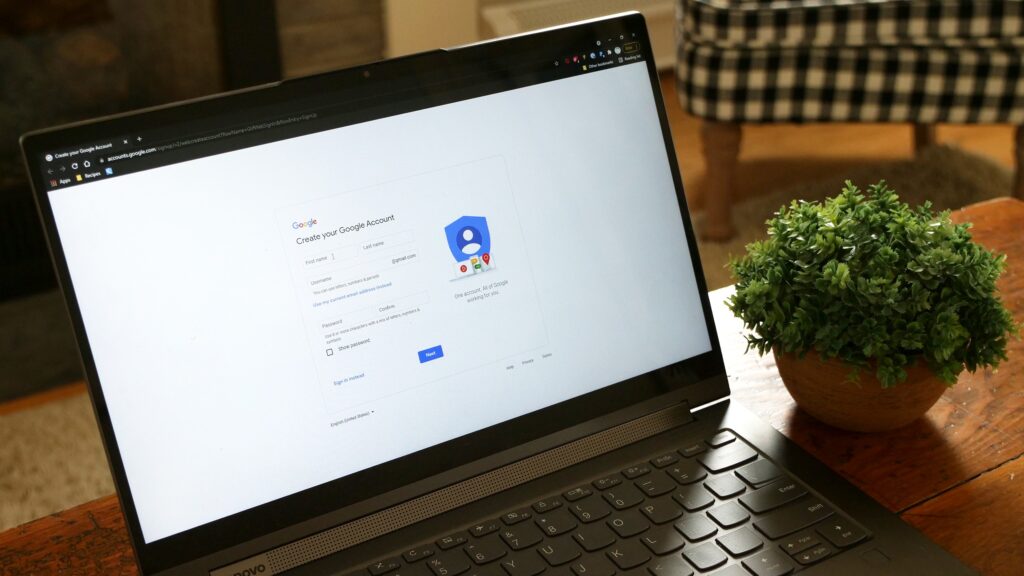
Having an email account is crucial for communication in the modern digital world, both personally and professionally. One of the most popular email services, Gmail, has an easy-to-use interface and a ton of features that make email management simple. You’ve come to the correct spot if you’re looking to set up a Gmail account on your laptop. We’ll take you step-by-step through the process of setting up a Gmail account on your laptop in this tutorial so you can begin taking advantage of this robust email service.

To open a Gmail account on your laptop, follow these steps:
First, launch your web browser
Open your laptop’s preferred web browser. Popular browsers, including Microsoft Edge, Mozilla Firefox, Safari, and Google Chrome, all function nicely with Gmail.
Go to the Gmail Sign-Up Page as Step 2
Type “gmail.com” into the address bar of your browser and hit Enter. Click the “Create an account” button at the bottom of the sign-in form on the Gmail homepage.
Step 3: Provide Your Personal Data
You will be required to enter your personal details on the page when you create an account.
- First name: Please type your full name.
- Last name: Type your family name or surname here.
- Username: Give your Gmail account a distinctive username. Choose a memorable and business-like email address for yourself. Gmail will provide substitute usernames if the one you choose is already taken.
- Password: Make sure your account password is secure. It should have a mix of symbols, numerals, and capital and lowercase letters. Don’t use information that can be guessed, such as your birthdate or everyday words.
- Verify the password. To guarantee accuracy, enter your password again.
Step 4: Give More Details
You will be prompted to enter a few more details after completing your personal information:
- Phone number: Provide a working cellphone number where you can get account alerts and verification codes. Although not required, taking this step is advised for account security.
- Email address for recovery: Give your backup email address so that, in the event that you lose your password, you may still access your Gmail account. Although suggested, this step is likewise optional.
- Date of birth: From the drop-down options, choose the date of your birth.
- Gender: Select your gender from the list of possibilities.
Step 5: Examine and Accept the Service Terms
Read Google’s Privacy Policy and Terms of Service before continuing. Check the box to show that you accept the terms if you agree with them.
Step Six: Finish the CAPTCHA
It’s possible that you’ll be required to finish a CAPTCHA challenge in order to confirm that you’re human and not an automated bot. Usually, this entails inserting characters from distorted text or recognizing certain visuals. To finish the CAPTCHA, adhere to the directions shown on the screen.
Step 7: Check Your Account Information
Google can occasionally need further proof to make sure your account is secure. This can entail requesting more information from you or sending a verification code to your phone number. To finish the verification procedure, adhere to the instructions.
Step 8: Getting to Your Gmail InboxBest wishes! You may now access and utilize your Gmail account. Once there, you may begin sending and receiving emails in your Gmail account.
Spend some time getting acquainted with the functionality and interface of Gmail. You have the ability to personalize your Gmail experience by exploring the different options, creating labels to organize your emails, and customizing the way your inbox appears.
To protect your account security, always remember to log out of your Gmail account when using a shared or public computer.
You may use your laptop or any other internet-connected device to get a dependable and feature-rich email service with your new Gmail account.


Add Comment