In today’s digital age, our smartphones have become an integral part of our lives, storing a vast amount of personal information, including contacts, photos, documents, and more. To ensure the safety and accessibility of this data, Apple offers iCloud, a cloud storage and cloud computing service designed specifically for Apple devices. iCloud allows you to securely store your data on remote servers, making it easier to access your information from multiple devices and protect it from loss or damage.
Opening an iCloud account on your iPhone 7 is a straightforward process that unlocks a wide range of features and benefits. With iCloud, you can automatically sync your photos, contacts, calendars, and other important data across all your Apple devices, ensuring that your information is always up to date and easily accessible. Additionally, iCloud enables you to locate your iPhone 7 if it’s lost or stolen, share photos and documents with friends and family, and even collaborate on projects in real-time.

Whether you’re a new iPhone 7 user or simply looking to make the most of your device’s capabilities, setting up an iCloud account is an essential step. In this comprehensive guide, we will walk you through the process of opening an iCloud account on your iPhone 7, step by step. We’ll cover everything from creating a new Apple ID to enabling iCloud services and managing your storage options. By the end of this guide, you’ll have a fully functional iCloud account and be well on your way to experiencing the convenience and peace of mind that comes with using Apple’s cloud services.
So, let’s dive in and explore the world of iCloud on your iPhone 7!
Step 1: Create an Apple ID
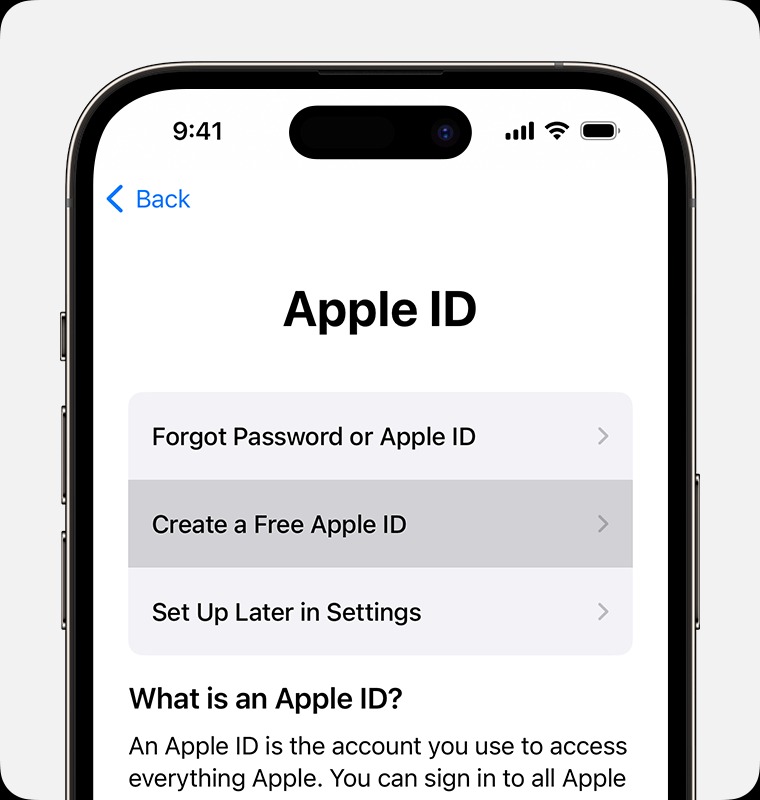
To use iCloud, you first need an Apple ID. If you already have one, you can skip this step. If not, follow these instructions to create a new Apple ID:
- Open the “Settings” app on your iPhone 7.
- Tap on “Sign in to your iPhone” at the top of the screen.
- Tap on “Don’t have an Apple ID or forgot it?”
- Select “Create Apple ID.”
- Fill in the required information, including your birthday, name, and email address.
- Choose a strong password and enter it twice to confirm.
- Select security questions and provide answers to help verify your identity if needed.
- Agree to the terms and conditions.
- Tap on “Next” to create your Apple ID.
Step 2: Sign In to iCloud
Once you have an Apple ID, you can sign in to iCloud on your iPhone 7:
- Open the “Settings” app.
- Tap on “Sign in to your iPhone” at the top of the screen.
- Enter your Apple ID and password.
- Tap on “Sign In.”
- If prompted, enter the six-digit verification code sent to your trusted device or phone number.
Step 3: Enable iCloud Services
After signing in, you can choose which iCloud services you want to use:
- In the “Settings” app, tap on your name at the top of the screen.
- Tap on “iCloud.”
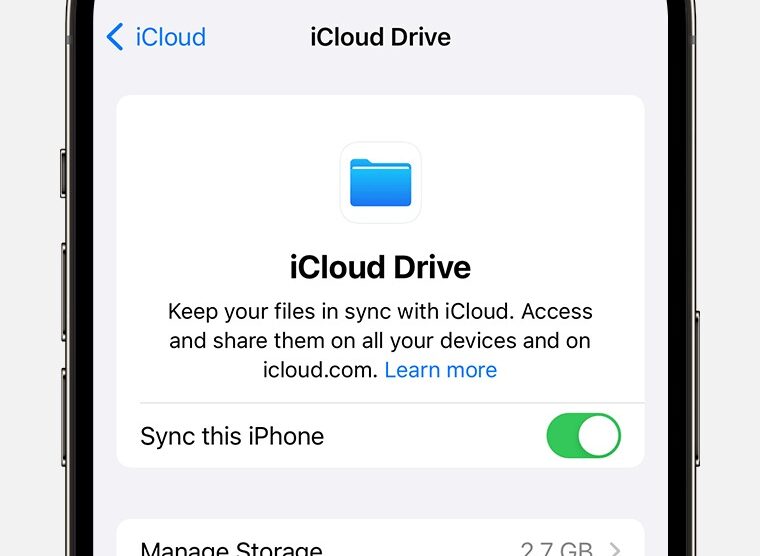
- Toggle on the services you want to use, such as Photos, Contacts, Calendars, and iCloud Drive.
- Choose whether to enable iCloud Backup to automatically back up your iPhone 7 to iCloud.
Step 4: Manage iCloud Storage
Apple provides 5GB of iCloud storage for free. If you need more space, you can manage your storage or purchase additional storage:
- In the “iCloud” settings, tap on “Manage Storage.”
- Review your current storage usage and see which apps are using the most space.
- If needed, tap on “Change Storage Plan” to upgrade your iCloud storage.
- Choose a plan that suits your needs and follow the prompts to complete the purchase.
With your iCloud account set up and configured, you can now enjoy the benefits of seamless data syncing and secure backup across your iPhone 7 and other Apple devices. Your photos, contacts, documents, and more will be safely stored in the cloud, accessible from anywhere with an internet connection.
Additional Tips
- Use a strong, unique password for your Apple ID to ensure the security of your iCloud account.
- Enable two-factor authentication for an extra layer of protection.
- Regularly review and manage your iCloud storage to avoid running out of space.
- Take advantage of iCloud’s features, such as Find My iPhone, to locate lost devices and protect your data.
By following this step-by-step guide and keeping these tips in mind, you’ll be well-equipped to make the most of iCloud on your iPhone 7. Enjoy the peace of mind and convenience that comes with knowing your data is safe, secure, and always within reach.


Add Comment