Effortlessly managing your financial transactions is crucial for any business owner using QuickBooks. One common task you may encounter is deleting a payment from a deposit in QuickBooks. Whether you’ve accidentally added the wrong payment or need to make adjustments, knowing how to delete payment from deposit in QuickBooks is essential. In this comprehensive guide, we’ll walk you through the step-by-step process of deleting a payment from a deposit in QuickBooks, ensuring your financial records remain accurate and up-to-date.
Understanding Deposits and Payments in QuickBooks
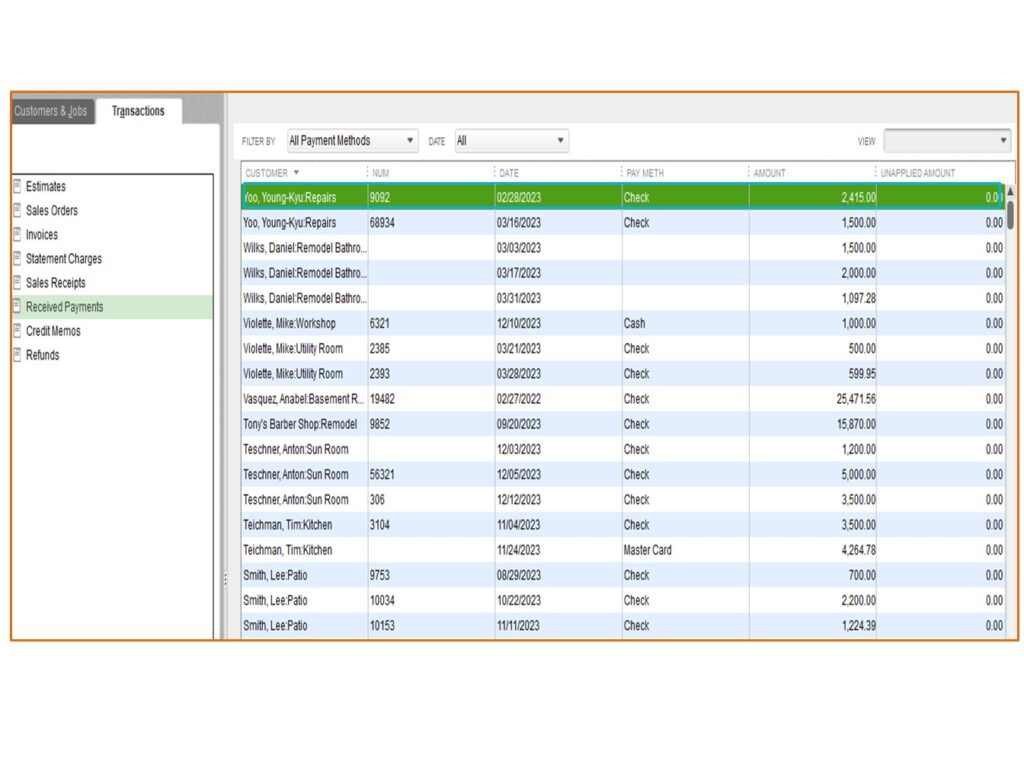
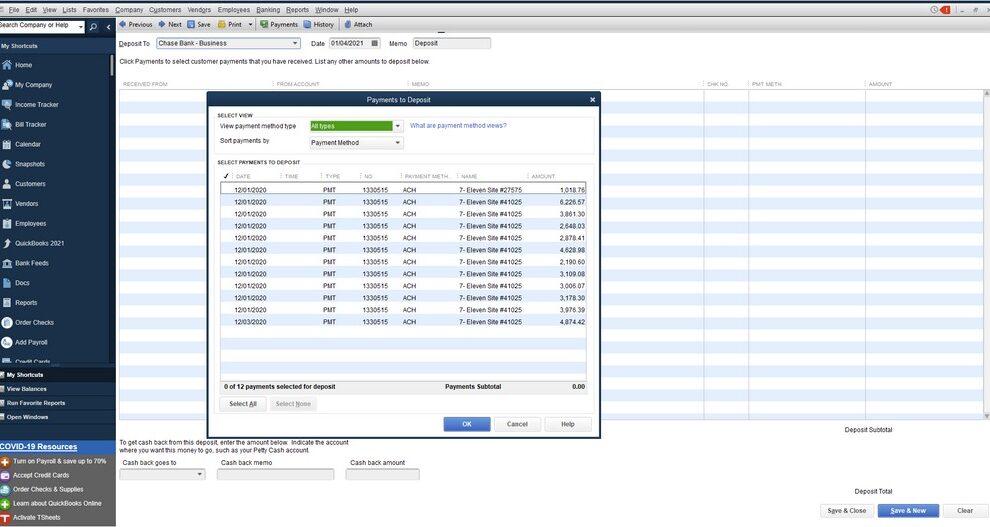
Before diving into the process of deleting a payment from a deposit in QuickBooks, it’s essential to understand the relationship between deposits and payments. In QuickBooks, a deposit is a transaction that combines multiple payments, such as customer payments or bank transfers, into a single record. This simplifies your financial records and makes it easier to track your income.
What happens when you delete a payment from a deposit in QuickBooks?
When you delete a payment from a deposit in QuickBooks, the payment is removed from the deposit record, and the deposit total is adjusted accordingly. The deleted payment will no longer be associated with the deposit and will be treated as a separate transaction. This allows you to maintain accurate financial records and ensures that your QuickBooks data reflects your actual business transactions.
Step-by-Step Guide: How to Delete Payment from Deposit in QuickBooks
Now that you understand the concept of deposits and payments in QuickBooks, let’s dive into the process of deleting a payment from a deposit. Follow these simple steps to remove a payment from a deposit in QuickBooks:
Step 1: Locate the Deposit Transaction
To delete a payment from a deposit in QuickBooks, you first need to find the deposit transaction that contains the payment you want to remove. Here’s how:
- Open QuickBooks and navigate to the “Banking” menu.
- Click on “Bank Deposits” to view a list of all your deposit transactions.
- Locate the deposit that includes the payment you want to delete.
- Double-click on the deposit to open the transaction details.
Step 2: Identify the Payment to Delete
Once you have the deposit transaction open, you’ll need to identify the specific payment you want to delete from the deposit. Review the list of payments included in the deposit and locate the one you wish to remove.
Step 3: Delete the Payment from the Deposit
With the payment identified, you can proceed to delete it from the deposit in QuickBooks. Here’s how:
- Click on the payment you want to delete within the deposit transaction.
- Press the “Delete” key on your keyboard or right-click and select “Delete Line” from the context menu.
- QuickBooks will prompt you to confirm the deletion. Click “OK” to proceed.
Step 4: Save the Updated Deposit
After deleting the payment from the deposit, it’s crucial to save the updated deposit transaction. Click the “Save & Close” button to save the changes you’ve made to the deposit. QuickBooks will automatically recalculate the deposit total, excluding the deleted payment.

Common Scenarios for Deleting Payments from Deposits in QuickBooks
There are several situations where you might need to delete a payment from a deposit in QuickBooks. Let’s explore a few common scenarios:
Scenario 1: Incorrect Payment Added to the Deposit
If you accidentally added the wrong payment to a deposit, deleting the payment from the deposit is the easiest way to rectify the error. By following the steps outlined above, you can remove the incorrect payment and ensure your financial records are accurate.
Scenario 2: Payment Needs to be Processed Separately
Sometimes, you may need to process a payment separately from the other payments in a deposit. In this case, deleting the payment from the deposit allows you to handle the payment independently. You can then create a new deposit transaction specifically for that payment or process it as a standalone transaction.
Scenario 3: Payment Belongs to a Different Deposit
If you realize that a payment was added to the wrong deposit, deleting the payment from the incorrect deposit is the first step in correcting the error. After removing the payment, you can then add it to the correct deposit transaction, ensuring your financial records are organized and accurate.
Tips for Managing Deposits and Payments in QuickBooks
To streamline your financial management process and avoid the need to frequently delete payments from deposits in QuickBooks, consider implementing these best practices:
- Double-check payments before adding them to a deposit: Take a moment to verify that you’re adding the correct payments to each deposit. This extra step can prevent errors and save you time in the long run.
- Use clear and descriptive names for deposits: When creating deposit transactions, use clear and descriptive names that reflect the nature of the payments included. This makes it easier to locate specific deposits and identify the payments within them.
- Regularly review and reconcile your deposits: Set aside time to review your deposit transactions regularly and reconcile them with your bank statements. This practice helps you catch any discrepancies or errors early on and ensures your QuickBooks data is up-to-date.
Conclusion
Deleting a payment from a deposit in QuickBooks is a simple process that can help you maintain accurate financial records. By following the step-by-step guide provided in this article, you can easily remove payments from deposits when needed. Whether you’ve added a payment incorrectly or need to process it separately, QuickBooks makes it easy to delete payment from deposit and keep your financial data organized.
Remember to regularly review your deposits and implement best practices for managing payments in QuickBooks. By staying on top of your financial transactions and keeping your records up-to-date, you’ll have a clearer picture of your business’s financial health and be better equipped to make informed decisions.
With this comprehensive guide on how to delete payment from deposit in QuickBooks, you now have the knowledge and tools to efficiently manage your financial transactions and ensure the accuracy of your records.


Add Comment