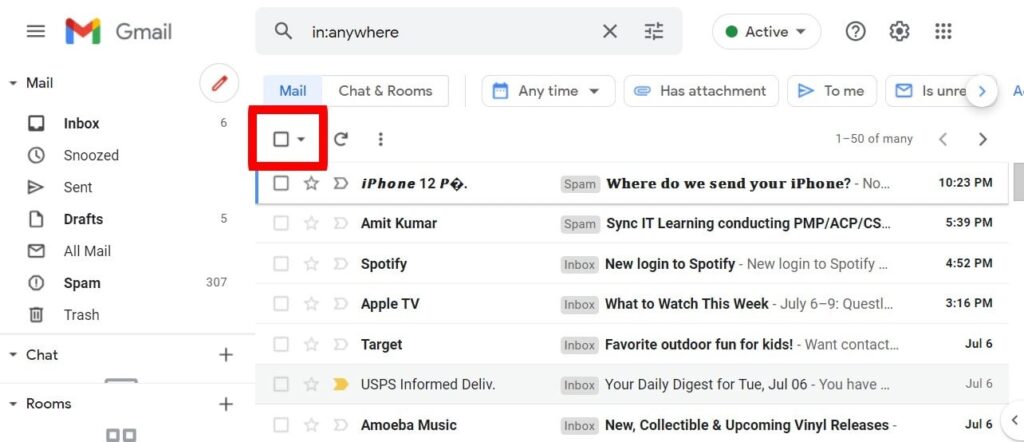
In the ever-expanding digital landscape, managing our email inboxes has become a constant challenge. Gmail, one of the most widely used email platforms, offers a wealth of features and functionality, but the accumulation of unwanted or outdated emails can quickly lead to an overwhelming and cluttered inbox. In this comprehensive guide, we’ll walk you through the step-by-step process of deleting emails in Gmail, empowering you to take control of your digital communication and maintain a clean, organized, and efficient email environment.
Understanding the Importance of Deleting Emails in Gmail
Deleting emails in Gmail serves several crucial purposes:
- Increased Storage Capacity: Gmail provides a generous amount of storage, but as your email archive grows, it can consume a significant portion of your available space. Regularly deleting unwanted emails can free up valuable storage, allowing you to accommodate new messages and attachments.
- Improved Productivity and Efficiency: A cluttered inbox can make it challenging to locate important emails and respond to time-sensitive messages. Deleting unnecessary emails can streamline your email management, enhancing your overall productivity and efficiency.
- Enhanced Privacy and Security: Emails may contain sensitive information or attachments that you no longer need. Deleting these messages can help protect your privacy and reduce the risk of unauthorized access to your data.
How to Delete Emails in Gmail: Step-by-Step Guide
Now, let’s dive into the step-by-step process of deleting emails in Gmail:
Step 1: Access Your Gmail Inbox
Begin by logging in to your Gmail account and navigating to your inbox, where you’ll see the list of emails in your account.
Step 2: Select the Emails to Delete
Carefully review the emails in your inbox and identify the ones you no longer need or want to keep. You can select individual emails by clicking on the checkbox to the left of each message, or you can select multiple emails by clicking and dragging to highlight a range of messages.
Step 3: Delete the Selected Emails
Once you’ve selected the emails you want to delete, click on the “Trash” icon (a trashcan) located at the top of the inbox. This will move the selected emails to the “Trash” folder, where they will be stored for a limited time before being permanently deleted.
Step 4: Empty the Trash Folder (Optional)
If you want to permanently delete the emails that are currently in your “Trash” folder, you can empty the trash by following these steps:
- Click on the “Trash” folder in the left-hand menu of your Gmail inbox.
- Select all the emails in the “Trash” folder by clicking the checkbox at the top of the list.
- Click on the “Delete forever” button (a trashcan with a downward arrow) to permanently remove the emails from your account.
Step 5: Regularly Review and Maintain Your Inbox
Deleting emails in Gmail should not be a one-time task. To keep your inbox organized and clutter-free, it’s essential to make a habit of regularly reviewing and deleting unwanted messages. Set reminders or create a schedule to ensure that you maintain a clean and efficient email environment.
Conclusion: Embrace a Streamlined Gmail Experience
Deleting emails in Gmail is a powerful tool that can help you maintain a clean, organized, and efficient email environment. By following the steps outlined in this guide, you can take control of your digital communication, free up valuable storage space, and enhance your overall productivity and security.
Remember, a well-managed Gmail inbox not only reflects your attention to detail but also contributes to a more focused and productive digital life. Embrace the power of email deletion, and let the benefits of a decluttered inbox transform your Gmail experience.


Add Comment