


Hey there, iPhone aficionado! Are you buzzing with excitement about the upcoming iOS 18 update? We bet you are! But before you dive headfirst into all those shiny new features, let’s talk about something crucial that often gets overlooked – backing up your iPhone. Yes, we know it’s not the most thrilling topic, but trust us, it’s a lifesaver!
Picture this: You’ve just installed iOS 18, and suddenly, your favorite photos from last summer’s beach vacation are nowhere to be found. Nightmare, right? That’s why we’re here to guide you through the ins and outs of backing up your iPhone the right way. It’s like creating a safety net for your digital life, and who doesn’t want that peace of mind?
In this guide, we’ll walk you through everything you need to know about backing up your iPhone before taking the iOS 18 plunge. From iCloud wizardry to iTunes magic (for those of you still rocking older Macs or PCs), we’ve got you covered. So, grab your iPhone, maybe a cup of coffee, and let’s dive in!
Why Backing Up Before iOS 18 is Non-Negotiable
Your Data is Priceless (Seriously, It Is!)
Think about all the stuff on your iPhone for a second. Those irreplaceable photos of your kid’s first steps, the contact info for that potential client you met at a conference, or that killer playlist you spent hours perfecting. All of this is unique to you and, let’s face it, pretty darn important.
While Apple has a great track record with iOS updates, there’s always a tiny chance that something could go wrong during the installation process. By backing up, you’re essentially creating a snapshot of your iPhone’s current state. If anything goes sideways, you can restore your device to exactly how it was before the update. It’s like a time machine for your iPhone!
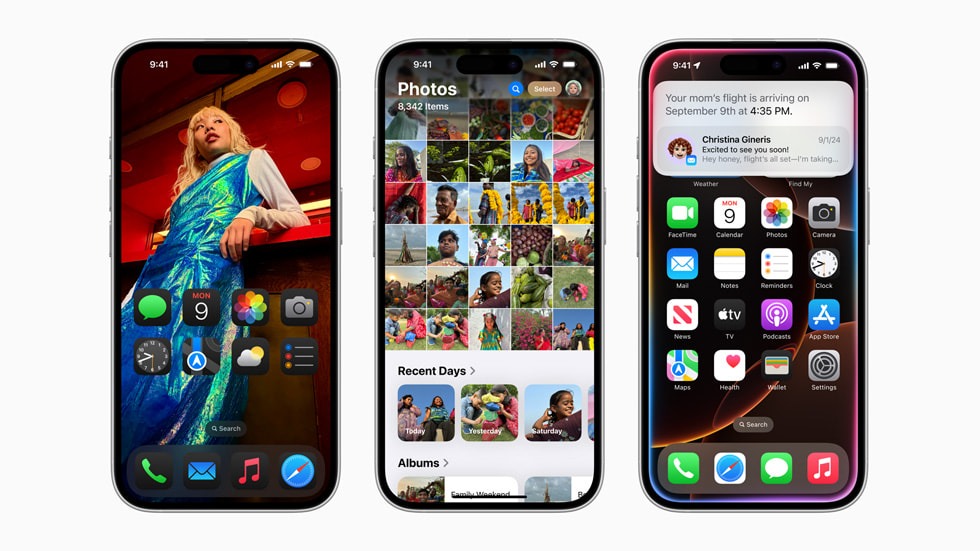
iOS 18 Might Bring Big Changes
Every major iOS update has the potential to introduce significant changes to how your iPhone operates. Sometimes, these changes might not play nice with all of your apps right away. By having a recent backup, you give yourself the option to revert to iOS 17 if you find that iOS 18 isn’t quite ready for prime time on your device.
Your Step-by-Step Guide to iPhone Backup Bliss
Option 1: Embracing the Cloud with iCloud Backup
iCloud backup is Apple’s native cloud-based solution, and it’s super easy to use. Here’s how to make sure you’re all set:
- Connect to Wi-Fi: Make sure your iPhone is connected to a stable Wi-Fi network. This process can eat up data, so Wi-Fi is your best friend here.
- Head to Settings: Tap on your name at the top of the Settings app.
- iCloud, Here We Come: Tap on ‘iCloud’, then ‘iCloud Backup’.
- Flip That Switch: If it’s not already on, toggle ‘iCloud Backup’ to the on position.
- Backup Now: Tap ‘Back Up Now’ and let your iPhone do its thing. Depending on how much data you have and your internet speed, this could take a while. Maybe it’s time for that coffee break?
Pro Tip: If you’re running low on iCloud storage, now might be a good time to consider upgrading your plan. Those 5GB freebies don’t stretch as far as they used to!
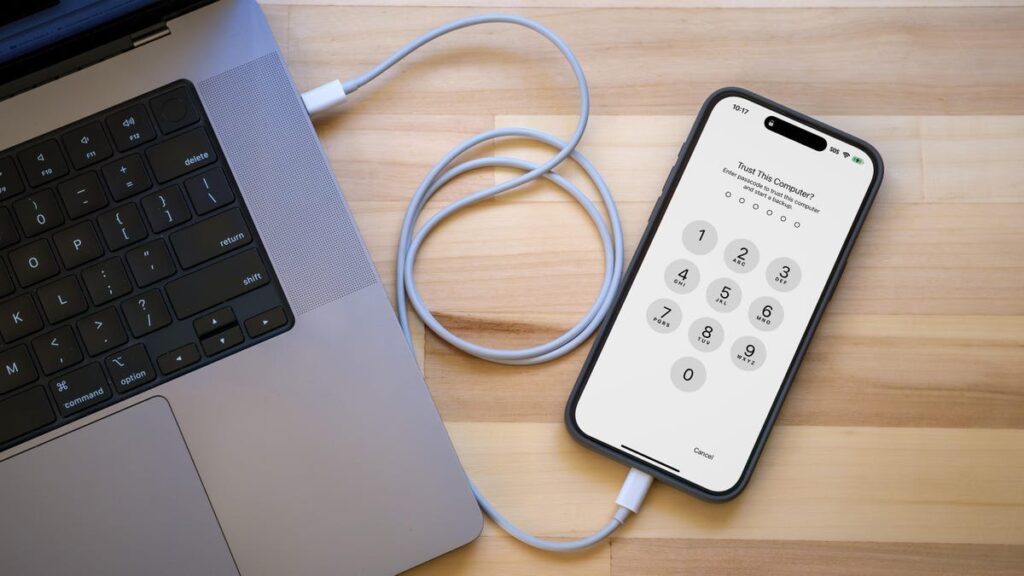
Option 2: Old School Cool with iTunes (or Finder for macOS Catalina and later)
If you prefer a local backup or you’re an iCloud skeptic, the iTunes route (or Finder for newer Macs) is your go-to. Here’s the lowdown:
- Connect Your iPhone: Use that trusty USB cable to connect your iPhone to your computer.
- Fire Up iTunes (or Finder): Open iTunes on Windows or older Macs. For macOS Catalina and later, open Finder.
- Find Your Device: In iTunes, click on the device icon. In Finder, select your iPhone from the sidebar.
- Encrypt for Extra Security: We highly recommend encrypting your backup. This stores sensitive info like your Health and Keychain data. Just check the box for ‘Encrypt local backup’ and set a password. Don’t forget this password!
- Start the Backup: Click ‘Back Up Now’ and let the magic happen.
Remember, this method creates a backup on your computer, so make sure you’ve got enough free space!
Bonus Tips for Backup Brilliance
Check Your Backup’s Pulse
After you’ve initiated a backup, it’s a good idea to make sure it actually completed successfully. For iCloud, go to Settings > [Your Name] > iCloud > iCloud Backup. You should see the time of your last successful backup.
For iTunes/Finder backups, you can check under Preferences > Devices. You’ll see a list of your backups with dates and times.
Keep Your Backup Game Strong
Don’t just back up once and call it a day. Make it a habit! Set up automatic iCloud backups or remind yourself to connect to your computer regularly for local backups. Your future self will thank you!
What Actually Gets Backed Up?
It’s good to know what’s included in your backup. Generally, you can expect:
- Photos and videos in your Camera Roll
- Messages (iMessage, SMS, and MMS)
- Calendar events
- Contact info
- App data and settings
- Home screen and app organization
- Health and Fitness data (if using encrypted backup)
- Safari bookmarks and reading list
- Notes
- Reminders
Keep in mind that some things, like Touch ID settings and Apple Pay information, don’t get backed up for security reasons.
The Moment of Truth: Installing iOS 18
Once you’ve got your rock-solid backup in place, you’re all set to take on iOS 18. Here’s a quick refresher on how to update:
- Go to Settings > General > Software Update
- If iOS 18 is available, you’ll see it here. Tap “Download and Install
- Follow the on-screen instructions and let your iPhone do its thing
Remember, patience is key during the update process. Your iPhone might restart a few times, and the progress bar might seem to move at a snail’s pace. Don’t panic – this is normal!
Wrapping It Up: Your iOS 18 Adventure Awaits!
There you have it, folks! You’re now armed with all the knowledge you need to back up your iPhone like a pro before diving into the iOS 18 experience. Remember, taking a few minutes to back up now can save you hours of frustration later. It’s like fastening your seatbelt before a road trip – a small action that can make a big difference.
So, go forth and backup! Embrace the cloud or stick with local storage – whatever floats your boat. The important thing is that your precious data is safe and sound. Once that’s done, you can update to iOS 18 with confidence, ready to explore all the cool new features Apple has in store for us.
Have you got any backup horror stories or success tales? Drop them in the comments below! And if you found this guide helpful, why not share it with your iPhone-loving friends? After all, sharing is caring, especially when it comes to tech tips!
Happy backing up, and enjoy iOS 18 when it drops!

Add Comment