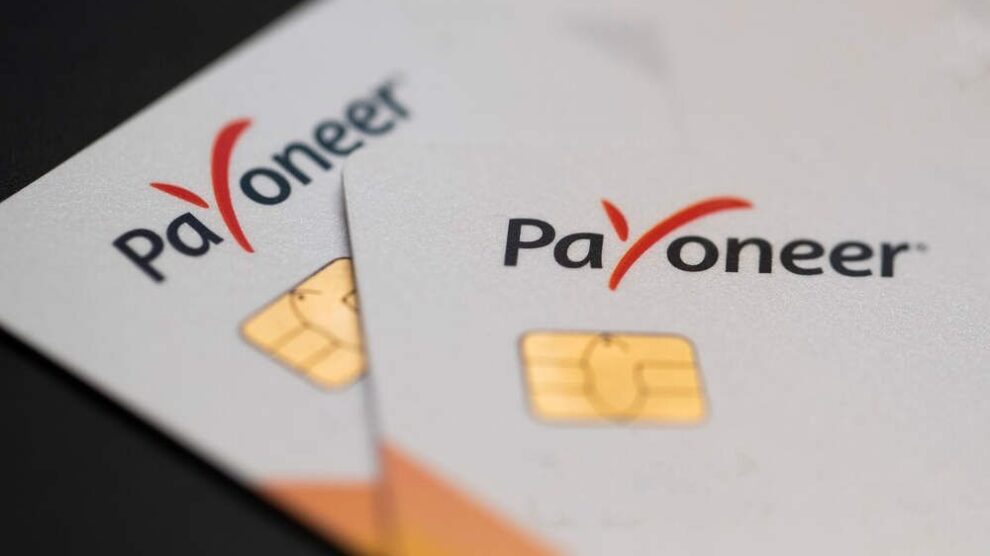
Payoneer is a popular online payment platform that allows freelancers, online marketers, and businesses to send and receive payments globally. It is a convenient and secure way for Nigerians to receive payments from international clients and companies. In this guide, we’ll walk you through the process of opening a Payoneer account in Nigeria.

Step 1: Check Your Eligibility
Before you start the application process, ensure that you meet the following eligibility criteria:
- You must be at least 18 years old.
- You must have a valid government-issued ID, such as a national ID card, driver’s license, or international passport.
- You must have a valid email address and phone number.
- You must have a bank account in your name in Nigeria.
Step 2: Visit the Payoneer Website
Go to the Payoneer website (www.payoneer.com) using your preferred web browser. Click on the “Sign Up” button located in the top-right corner of the page.
Step 3: Select Your Account Type
On the registration page, select the account type that best describes your purpose for using Payoneer. The options include:
- Freelancer or Online Marketer
- Business or Company
- Online Seller
- Employee or Contractor
Choose the appropriate option and click on “Next.”
Step 4: Provide Your Personal Information
Fill in your personal details accurately in the registration form. This includes:
- First and Last Name
- Email Address
- Password (create a strong password)
- Country of Residence (select “Nigeria”)
- Date of Birth
- Phone Number (enter your Nigerian phone number)
Ensure that all the information you provide is accurate and up-to-date to avoid any issues with your account verification.
Step 5: Verify Your Email Address
After submitting your personal information, Payoneer will send a verification link to your registered email address. Open your email inbox and look for an email from Payoneer. Click on the verification link within the email to confirm your email address.
Step 6: Complete Your Profile
Once your email address is verified, log in to your newly created Payoneer account. You will be directed to your account dashboard, where you need to complete your profile by providing additional information, such as:
- Your full name as it appears on your government-issued ID
- Your address is in Nigeria
- Your ID type and number (e.g., national ID card, driver’s license, or international passport)
- Your bank account details in Nigeria (account name, account number, and bank name)
Make sure to provide accurate and complete information to ensure a smooth verification process.
Step 7: Submit Verification Documents
To comply with international financial regulations and to ensure the security of your account, Payoneer requires you to submit certain verification documents. These may include:
- A clear copy of your government-issued ID (e.g., national ID card, driver’s license, or international passport)
- A proof of address, such as a utility bill or bank statement, showing your name and address in Nigeria
Upload clear and legible scans or photos of these documents in your Payoneer account. The verification process usually takes a few business days, and you will be notified via email once your account is fully verified.
Step 8: Set Up Your Payment Methods
After your account is verified, you can set up your preferred payment methods to receive funds. Payoneer offers several options for receiving payments in Nigeria, including:
- Payoneer Prepaid Mastercard: You can request a Payoneer Prepaid Mastercard, which allows you to withdraw funds from ATMs worldwide and make online and in-store purchases.
- Bank Transfer: You can withdraw funds directly from your Nigerian bank account. Provide your bank account details in your Payoneer account settings.
Choose the payment method that best suits your needs and follow the instructions provided by Payoneer to set it up.
Step 9: Start Receiving Payments
Once your account is fully set up and verified, you can start receiving payments from international clients and companies. Provide your Payoneer email address or account details to your clients or employers, and they can send payments directly to your Payoneer account.
When you receive a payment, you will be notified via email, and the funds will be available in your Payoneer account. You can then withdraw the funds to your Nigerian bank account or use your Payoneer Prepaid Mastercard for transactions.
Step 10: Manage Your Account and Transactions
Regularly log in to your Payoneer account to manage your profile, update your information, and track your transactions. Some important tasks include:
- Keeping your personal and bank account information up-to-date
- Monitoring your transaction history and account balance
- Responding to any account-related notifications or requests from Payoneer
- Ensure the security of your account by using strong passwords and enabling two-factor authentication
If you have any questions or issues with your Payoneer account, visit the Payoneer Help Center or contact their customer support for assistance.
Conclusion
Opening a Payoneer account in Nigeria is a straightforward process that enables you to receive international payments securely and conveniently. By following the steps outlined in this guide and providing accurate information and documents, you can set up your Payoneer account and start receiving payments from clients and companies worldwide.
As you use your Payoneer account, make sure to keep your information up-to-date, monitor your transactions, and maintain the security of your account. With Payoneer, you can expand your business opportunities and access global markets, all while enjoying a reliable and efficient payment solution.


Add Comment