As you use your Windows 11 device, it can accumulate a significant amount of junk files, such as temporary files, cached data, and leftover files from uninstalled programs. These junk files can consume valuable storage space and slow down the performance of your system. In this comprehensive guide, we’ll walk you through the process of identifying and deleting junk files in Windows 11, empowering you to maintain a clean and efficient digital environment.
Understanding Junk Files in Windows 11
Junk files in Windows 11 are non-essential files that serve no useful purpose and can contribute to clutter on your device. Examples of junk files include:
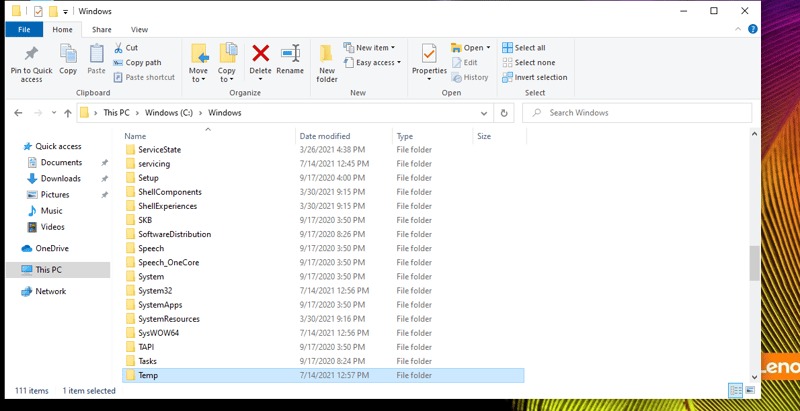
- Temporary files created by the operating system and applications
- Browser cache and temporary internet files
- Log files and crash reports
- Leftover files from uninstalled programs
Allowing these junk files to accumulate can have several negative consequences:
- Reduced Storage Space: Junk files can gradually consume valuable storage space on your Windows 11 device, limiting your ability to store important data and files.
- Decreased Performance: The presence of large amounts of junk files can slow down your device’s performance, leading to longer startup times, slower file access, and overall system sluggishness.
- Security Risks: Some junk files may contain sensitive information, increasing the risk of unauthorized access or data breaches if left unattended.

How to Delete Junk Files in Windows 11
Follow these steps to delete junk files in your Windows 11 device:
Step 1: Access the Disk Cleanup Utility
- Open the Start menu and search for “Disk Cleanup”.
- Click on the Disk Cleanup app to launch it.
Step 2: Analyze and Select Junk Files
- In the Disk Cleanup window, the utility will scan your device and list the different types of junk files it has found.
- Review the list and select the types of junk files you want to delete by checking the corresponding boxes.
Step 3: Delete the Junk Files
- Click the “OK” button to initiate the deletion process.
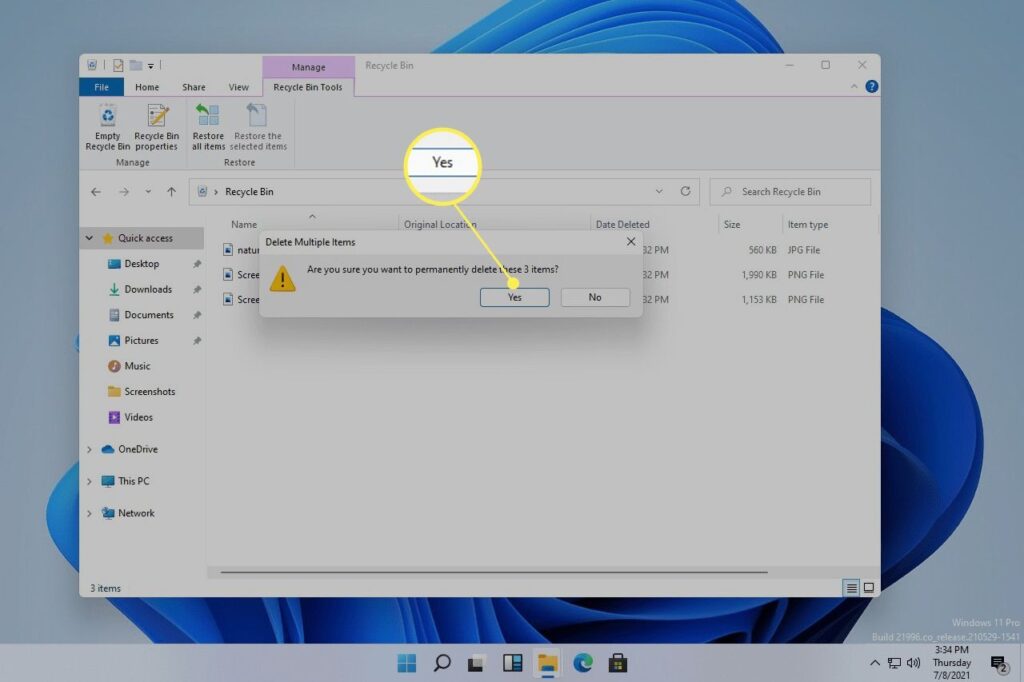
- Confirm the deletion when prompted.
Step 4: Verify the Deletion
- Check the storage usage on your Windows 11 device to ensure the junk files have been successfully removed and that the available storage space has increased.
Additional Junk File Cleaning Tips
- Schedule regular junk file cleanups to maintain a clutter-free Windows 11 device.
- Use third-party junk file cleaning utilities for a more comprehensive analysis and deletion process.
- Identify and delete large files or folders that are no longer needed.
- Uninstall unused applications to remove their associated junk files.
Conclusion: Optimizing Your Windows 11 Experience
Deleting junk files is a crucial step in maintaining the health and performance of your Windows 11 device. By following the steps outlined in this guide, you can effectively identify and remove unnecessary files, freeing up valuable storage space and improving the overall efficiency of your system.
Remember, regular junk file cleanup should be a part of your ongoing device maintenance routine. Embrace the benefits of a decluttered Windows 11 environment and enjoy the enhanced performance, security, and storage capacity of your device.


Add Comment