Right now, safeguarding our personal information has become as essential as locking our doors. Nowhere is this more evident than with our smartphones. They are not just communication tools; they’re mini computers carrying a treasure trove of personal information. If you want to learn a few iPhone backup and restore tricks, read this through. Here we will focus on one such device, the iPhone, and provide a detailed guide on “How to Back Up and Restore Your iPhone.” So, buckle up for the journey!
Understanding the Importance of Backing Up Your iPhone
It’s a bird! It’s a plane! No, it’s your iPhone soaring through the air after a mishap. Unfortunately, unlike Superman, iPhones are susceptible to harm, loss, or theft, making backing them up critical.
1. Why Back Up?
Imagine this: You’re a prolific photographer with hundreds of stunning photos stored on your iPhone. One day, you drop your phone and – bam! – the device becomes as functional as a paperweight. All your photos, gone! That’s where iPhone backup swoops in to save the day.
Backing up your iPhone ensures all your data – be it photographs, messages, apps, or settings – are securely stored. This way, if your device is ever lost, stolen, or damaged, you don’t lose your valuable data.
2. Smoothing the Switch
Upgrading to the latest iPhone model? Congrats! You’re probably chuffed about the new device but not so much about the chore of moving your data over. Good news – if you’ve backed up your old iPhone, this process is as easy as pie.
By restoring your new iPhone from the backup of your old device, you can smoothly transfer almost everything – apps, data, settings, you name it! So, backing up your iPhone not only secures your data but also simplifies the upgrade process.
3. Two is Better Than One
Ever heard the saying, “Don’t put all your eggs in one basket?” It applies to iPhone backups too. By using both iCloud and iTunes for backups, you’re spreading your risk. If one fails, you’ve got a backup for your backup. How’s that for being extra secure?
4. Securing Your Data
From cherished family photos to important documents, your iPhone holds data that can’t be replaced. Regular backups ensure your data is secure and can be recovered if your phone gets lost, stolen, or damaged.
5. Easing Transitions
Ever had to transfer your data to a new iPhone? A backup can make this process a breeze. You can swiftly restore all your apps, settings, and data onto your new device.
See also: Solutions for iPhone Water Damage
How to Back Up Your iPhone
Now that we’ve covered the “why,” let’s dive into the “how.” You can backup your iPhone using two methods: iCloud and iTunes.
1. Backing Up with iCloud

iCloud is a cloud storage service provided by Apple. Here’s a step-by-step guide to backup using iCloud:
1. Connect your iPhone to Wi-Fi.
2. Go to Settings > [your name] > iCloud.
3. Tap on “iCloud Backup.”
4. Turn on the “iCloud Backup” option if it’s not already enabled.
5. Tap “Back Up Now” and wait until the process completes.
Remember: Make sure your iPhone stays connected to Wi-Fi during this process.
2. Backing Up with iTunes
iTunes, although a bit old school, is still a viable method for backing up your iPhone. Here’s how to do it:
1. Open iTunes on your PC or Mac.
2. Connect your iPhone using a USB cable.
3. Select your iPhone when it appears in iTunes.
4. Click on “Back Up Now” and wait for the process to complete.
Note: Always disconnect your iPhone safely from your computer to prevent any data corruption.
Restoring Your iPhone from a Backup
Alright, we’ve successfully backed up our iPhone. Now, let’s delve into “How to Restore Your iPhone” from that backup.
1. Restoring from an iCloud Backup
1. Go to Settings > General > Reset > Erase all content and settings. This will delete all data on your device.
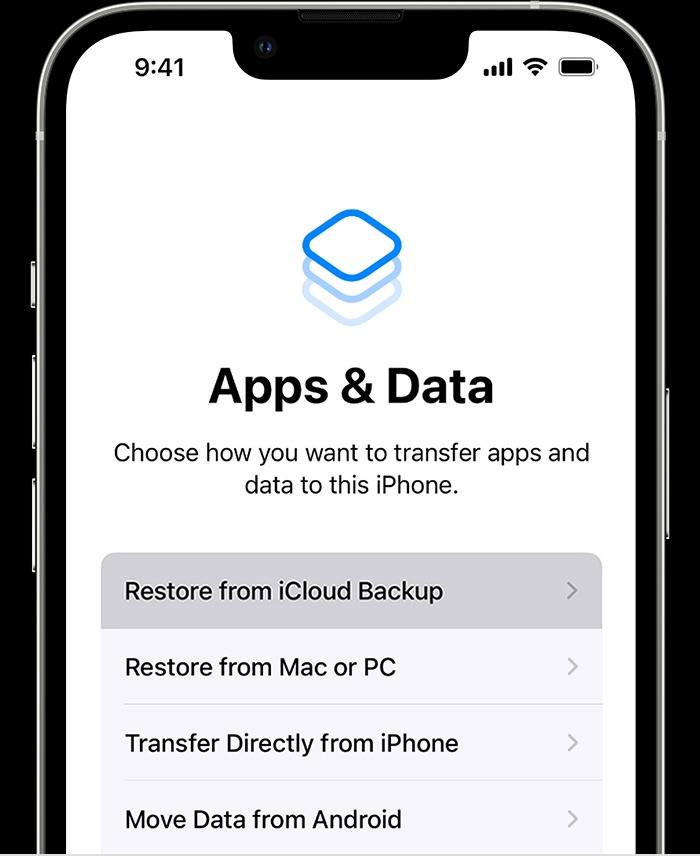
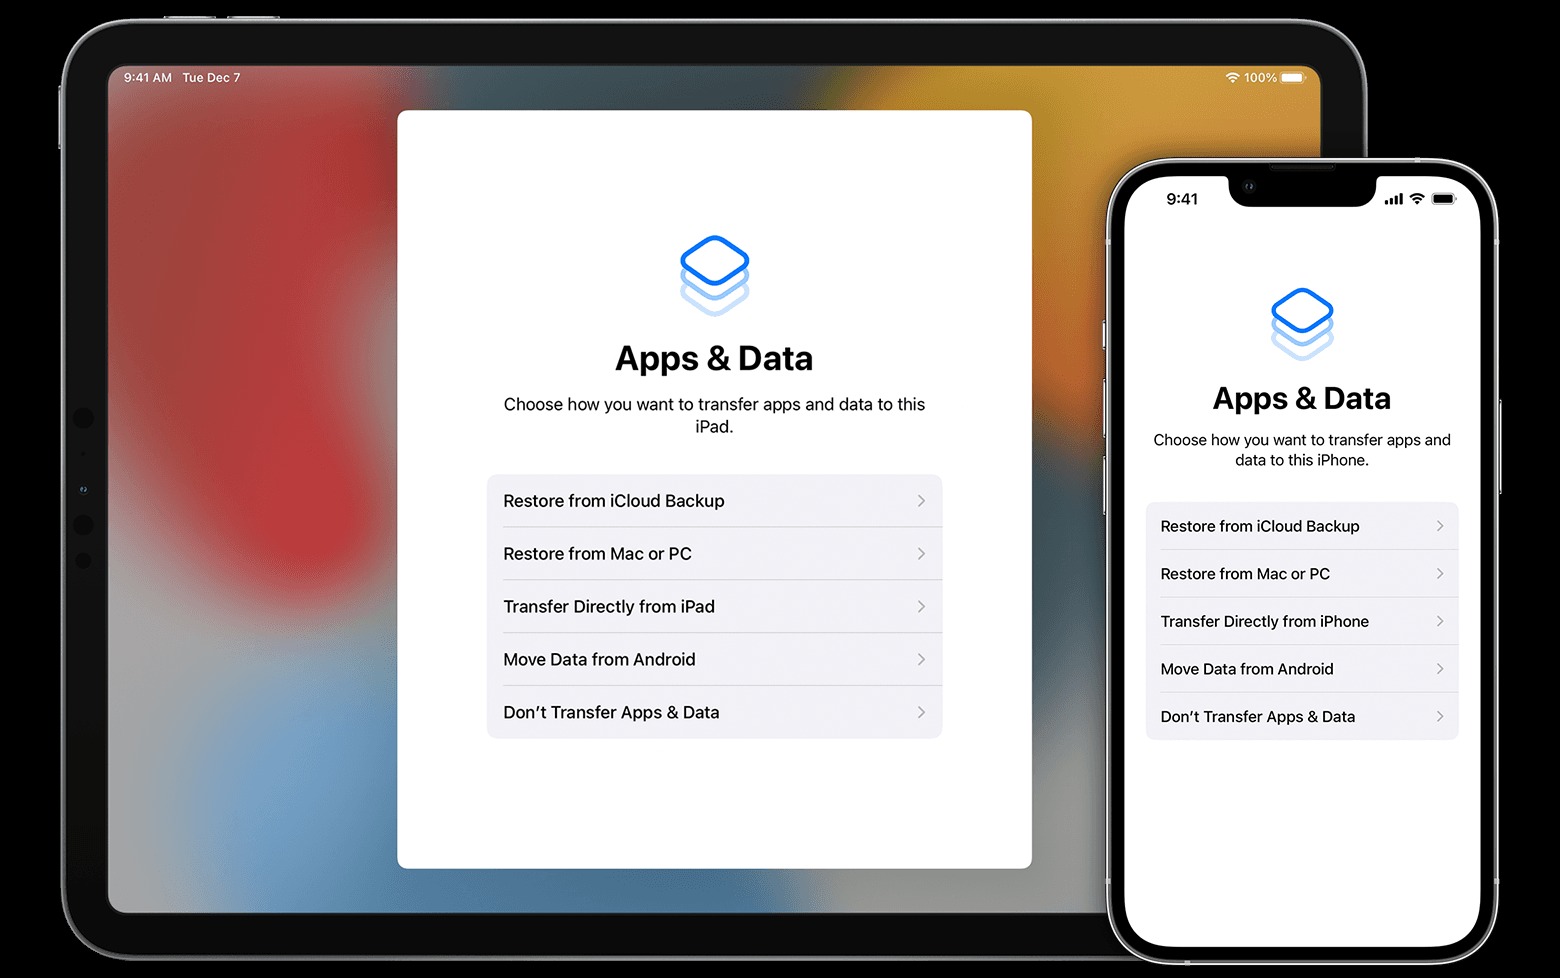
2. Follow the iPhone setup steps until you reach the “Apps & Data” screen.
3. Tap “Restore from iCloud Backup.”
4. Sign in to iCloud and choose a backup.
2. Restoring from an iTunes Backup
1. Connect your iPhone to your computer and open iTunes.
2. Select your iPhone when it appears in iTunes.
3. Choose “Restore Backup.”
4. Choose the relevant backup and click “Restore.”
Caution: Do not disconnect your iPhone during the restore process.
See also: iPhone 14 Camera Quality
Conclusion
From the importance of backing up your iPhone to the step-by-step guide on how to do it, we hope this comprehensive guide helps you keep your valuable data safe. Remember, “A stitch in time saves nine.” Regularly backing up your iPhone is that crucial stitch in protecting your data. So, don’t wait for a mishap; start backing up today!
Frequently Asked Questions
Q1: How often should I back up my iPhone?
A1: The frequency of backing up your iPhone can depend on how often you update your data. However, it’s generally good practice to back up at least once a week.
Q2: Can I use both iCloud and iTunes for backups?
A2: Absolutely! It’s a smart move to have backups in different places. This way, if one method fails, you have a backup plan.
Q3: What should I do if my iCloud storage is full?
A3: If your iCloud storage is full, you have two options: either purchase more iCloud storage from Apple or make a backup using iTunes on your computer.
Q4: Can I restore my iPhone without a backup?
A4: Without a backup, you can’t restore the data that was previously on your iPhone. However, you can still reset the device to its factory settings.
Q5: Will restoring my iPhone from a backup delete everything?
A5: Yes, restoring from a backup will erase all existing data and settings on your iPhone before applying the backup data and settings.
Q6: Can I back up my iPhone to an external hard drive?
A6: While Apple doesn’t officially support this, there are third-party apps and a few workarounds to back up your iPhone to an external hard drive using iTunes.


Add Comment