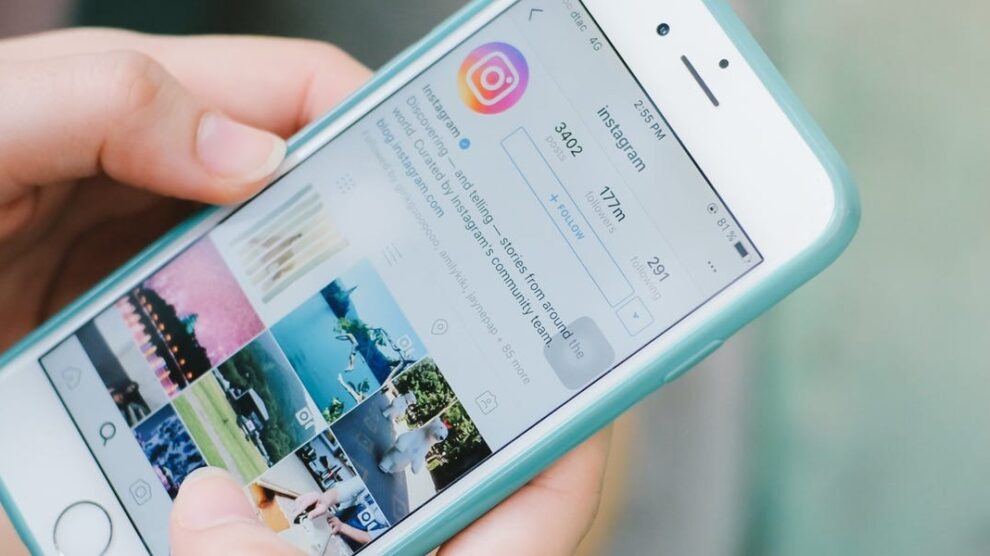
Instagram, the popular photo- and video-sharing social media platform, allows users to create either public or private accounts. By default, Instagram accounts are set to public, meaning anyone can view your profile, posts, and stories. However, if you prefer to have more control over who can see your content and interact with you on the platform, you can choose to create a private Instagram account.
When you set your Instagram account to private, only your approved followers can see your posts, stories, and Reels. This added layer of privacy helps you protect your personal information, curate your audience, and share your content with a select group of people, such as friends, family, or close acquaintances. Private accounts are particularly useful for individuals who wish to maintain a more intimate and controlled social media presence without compromising on the features and benefits that Instagram offers.

In this guide, we will walk you through the simple steps of creating a private account on Instagram, empowering you to take charge of your privacy and engage with your followers on your own terms.
Step 1: Open the Instagram App
On your smartphone, locate and tap on the Instagram app icon to open the application.
Step 2: Log in or Create an Account
If you already have an Instagram account, log in using your username and password. If you don’t have an account, tap on the “Sign Up” button and follow the prompts to create one.
Step 3: Go to Your Profile
Once you’re logged in, tap on the profile icon in the bottom right corner of the screen to access your profile page.
Step 4: Access Settings
On your profile page, tap on the three horizontal lines (hamburger menu) in the top right corner of the screen. From the pop-up menu, select “Settings.”
Step 5: Navigate to Privacy Settings
In the Settings menu, scroll down and tap on “Privacy.”
Step 6: Switch to a private account
Under the “Account Privacy” section, tap on the toggle switch next to “Private Account” to turn it on. A confirmation message will appear, explaining that only your approved followers will be able to see your posts and stories. Tap on “Switch to Private” to confirm your decision.
Step 7: Approve and Follow Requests
Once your account is set to private, anyone who wants to follow you will need to send a follow request. You will receive a notification for each follow-up request, which you can approve or deny individually. To approve a request, go to your profile, tap on the “Followers” section, and select “Requests.” Tap on the “Confirm” button next to the user’s name to approve their request.
Congratulations! You have successfully created a private account on Instagram. From now on, only your approved followers will be able to see your posts, stories, and Reels. You can always switch back to a public account by following the same steps and toggling off the “Private Account” option.
Remember that even with a private account, it’s essential to be cautious about the information you share on social media. Avoid posting sensitive personal data, and be mindful of the content you share, as your approved followers can still take screenshots or share your posts with others.


Add Comment