TradingView has emerged as a powerful and versatile platform for traders, investors, and market enthusiasts alike. With its cutting-edge charting tools, real-time data, and robust community, TradingView has become a go-to destination for those seeking to elevate their trading experience. However, to truly harness the full potential of this platform, opening a live trading account is essential. In this comprehensive guide, we’ll walk you through the process of opening a live account on TradingView, ensuring you’re equipped with the knowledge and tools to navigate the financial markets with confidence.

Step 1: Choose a Compatible Broker
TradingView seamlessly integrates with a wide range of brokers, allowing you to execute trades directly from the platform. However, to open a live trading account, you’ll need to choose a broker that is compatible with TradingView’s trading functionality.
Visit the TradingView Brokers page to explore the list of supported brokers. Consider factors such as trading instruments offered, fees, and regulatory compliance when selecting a broker that aligns with your trading goals and preferences.
Step 2: Open a Brokerage Account
Once you’ve selected a compatible broker, you’ll need to open a brokerage account with them. This process typically involves completing an online application form, providing personal and financial information, and submitting the required identification documents.
During the account opening process, you’ll be asked to choose an account type (e.g., individual, joint, or corporate), specify your trading experience level, and indicate your investment objectives. It’s crucial to provide accurate and up-to-date information to ensure compliance with regulatory requirements and to streamline the account approval process.
Step 3: Fund Your Account
After your brokerage account has been approved, the next step is to fund it. Most brokers offer a variety of funding options, including bank wire transfers, credit/debit card payments, and electronic wallets like PayPal or Skrill.
Be mindful of any minimum deposit requirements or potential fees associated with the chosen funding method. It’s also advisable to familiarize yourself with the base currency of your trading account and any applicable conversion rates if you’re depositing in a different currency.
Step 4: Connect Your Brokerage Account to TradingView
With your brokerage account funded and ready to go, it’s time to connect it to TradingView. This integration will allow you to execute trades directly from the TradingView platform, streamlining your trading experience.
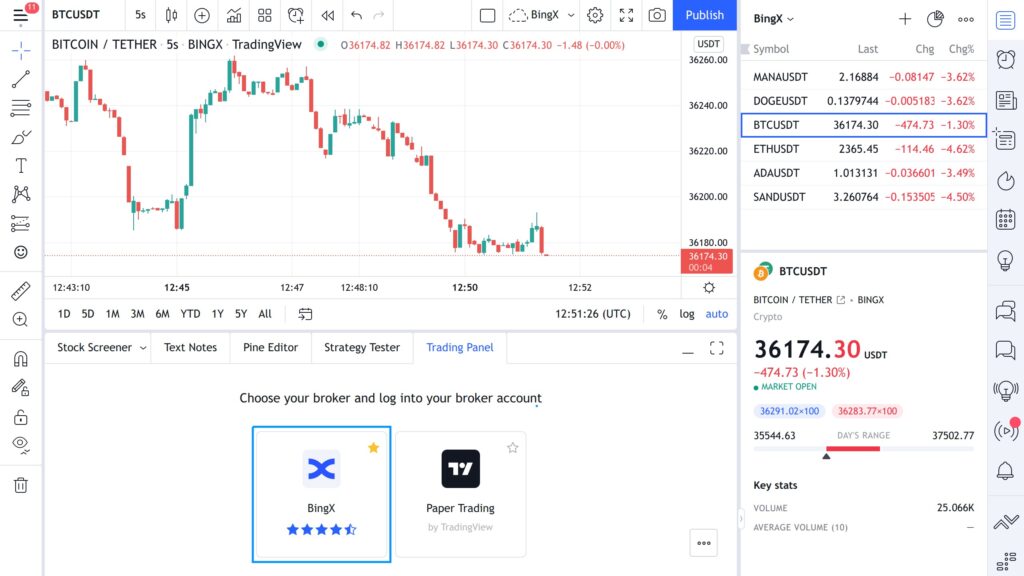
- Log in to your TradingView account and navigate to the “Trading Panel” section.
- Click on the “Connect to Broker” button and select your chosen broker from the list of supported brokers.
- Follow the on-screen instructions to securely link your brokerage account to TradingView.
Once the connection is established, you’ll be able to view your account balances, positions, and order history within the TradingView platform.
Step 5: Explore TradingView’s Trading Tools
With your live trading account connected, you can now fully immerse yourself in the powerful trading tools and features offered by TradingView. Take advantage of the platform’s advanced charting capabilities, which include a wide range of technical indicators, drawing tools, and customizable layouts.
TradingView also offers a robust community of traders, investors, and market analysts, providing valuable insights, trading ideas, and educational resources. Engage with this community, participate in discussions, and leverage the collective knowledge to enhance your trading strategies.
Step 6: Start Trading and Manage Your Positions
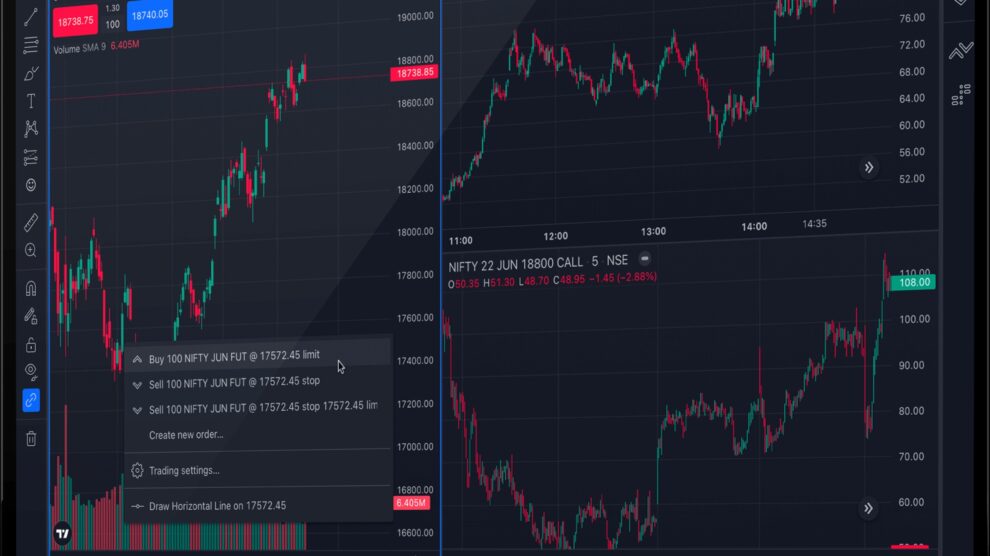
With your live trading account connected and TradingView’s tools at your disposal, you’re now ready to execute trades and manage your positions directly from the platform. Utilize the powerful order entry tools, set stop-loss and take-profit levels, and monitor your trades in real-time.
Remember, trading carries inherent risks, and it’s essential to exercise caution, discipline, and effective risk management strategies. Continuously educate yourself, stay updated on market developments, and consider seeking guidance from experienced traders or financial advisors if needed.
Elevate Your Trading Experience with TradingView
By following the steps outlined in this guide, you’ll be well-equipped to open a live trading account on TradingView and unlock the full potential of this powerful platform. TradingView’s seamless integration with reputable brokers, combined with its advanced charting tools and vibrant trading community, provides you with a comprehensive trading ecosystem to navigate the financial markets with confidence.
Embrace the opportunities that TradingView offers, continuously hone your skills, and stay committed to your trading goals. With dedication, discipline, and a strategic approach, you can elevate your trading experience and unlock the potential for success in the ever-evolving financial markets.


Add Comment