


Efficiently managing your customer list is a crucial aspect of using QuickBooks effectively. As your business evolves, you may encounter situations where you need to delete a customer from your QuickBooks account. Whether you’ve created a duplicate customer entry, a customer has requested to be removed, or you simply want to streamline your customer list, knowing how to delete a customer in QuickBooks is essential. In this step-by-step guide, we’ll walk you through the process of deleting a customer in QuickBooks, ensuring your customer data remains accurate and up-to-date.
Important Considerations Before Deleting a Customer in QuickBooks
Before we dive into the steps for deleting a customer in QuickBooks, it’s crucial to understand the implications of this action. Here are a few important points to keep in mind:
Deleting vs. Making a Customer Inactive
In QuickBooks, you have the option to either delete a customer or make them inactive. When you delete a customer, all transactions and historical data associated with that customer will be permanently removed from your QuickBooks account. On the other hand, making a customer inactive preserves their historical data while removing them from your active customer list. Consider your specific needs and whether you may require access to the customer’s data in the future before deciding to delete them.
Impact on Financial Reports and Transactions
Deleting a customer in QuickBooks will affect your financial reports and transactions. Any invoices, payments, or other transactions associated with the deleted customer will no longer be visible in your reports. If you need to maintain a complete financial history, it may be better to make the customer inactive instead of deleting them entirely.
Step-by-Step Guide: How to Delete a Customer in QuickBooks
Now that you understand the implications of deleting a customer in QuickBooks, let’s walk through the step-by-step process:
Step 1: Open the Customer Center
To begin, open your QuickBooks account and navigate to the “Customers” menu. Click on “Customer Center” to access the list of all your customers.
Step 2: Locate the Customer to Delete
In the Customer Center, scroll through the list of customers or use the search bar to find the customer you want to delete. Once you’ve located the customer, click on their name to highlight it.
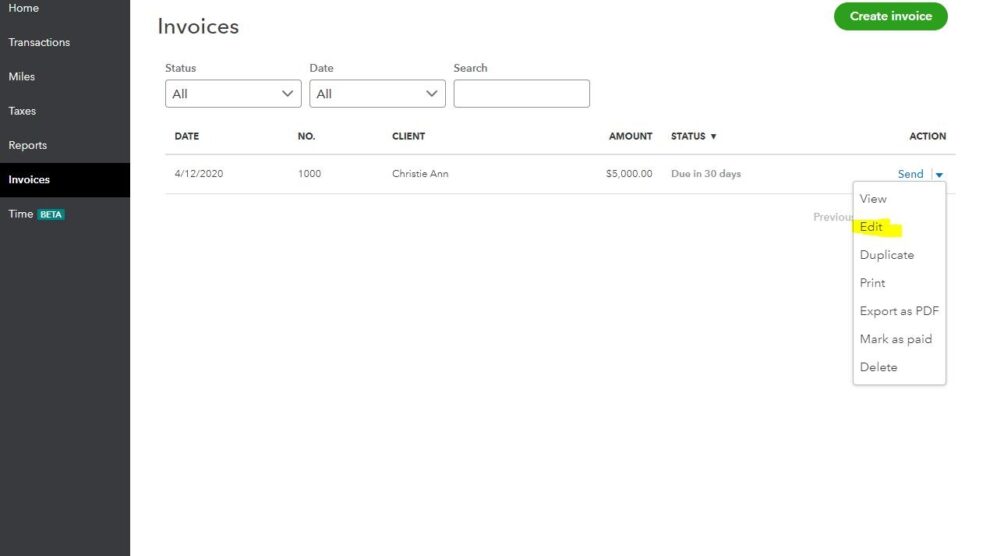
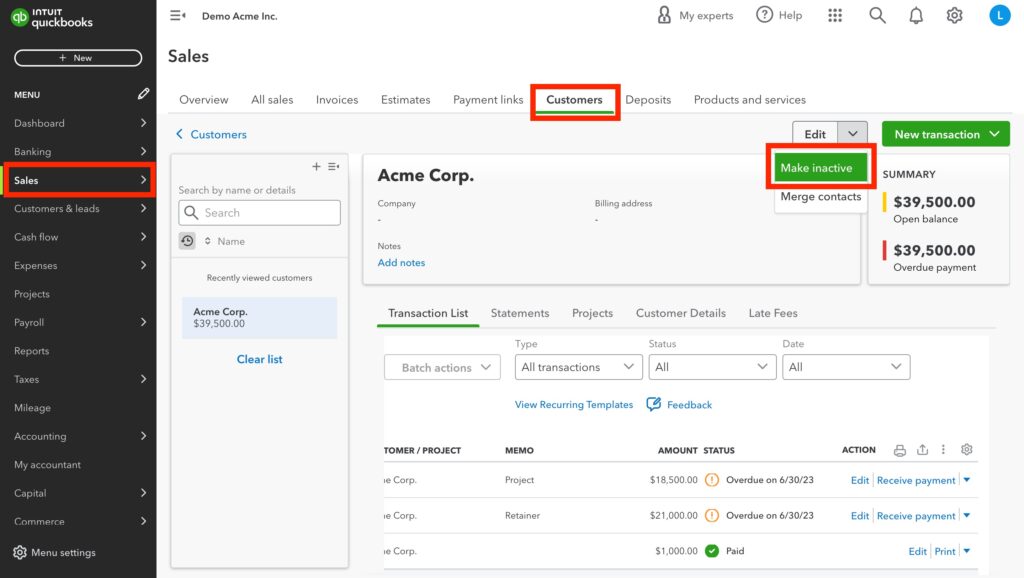
Step 3: Edit the Customer
With the customer highlighted, click on the “Edit” button in the top menu bar. This will open the “Edit Customer” window.
Step 4: Choose to Make Inactive or Delete
In the “Edit Customer” window, you’ll see two options: “Make Inactive” and “Delete.” If you want to preserve the customer’s historical data, select “Make Inactive.” If you want to permanently remove the customer and all associated data, select “Delete.”
Step 5: Confirm the Action
After selecting either “Make Inactive” or “Delete,” QuickBooks will prompt you to confirm your action. Review the confirmation message carefully and click “OK” to proceed.
Handling Common Scenarios When Deleting Customers in QuickBooks
Let’s explore a few common scenarios you may encounter when deleting customers in QuickBooks and how to handle them:
Scenario 1: Deleting a Customer with Open Transactions
If you attempt to delete a customer who has open transactions, such as unpaid invoices or unreceived payments, QuickBooks will display a warning message. To proceed with deleting the customer, you’ll need to resolve the open transactions first. This may involve completing the transactions, voiding them, or moving them to another customer.
Scenario 2: Merging Duplicate Customer Entries
If you discover that you have duplicate entries for the same customer in your QuickBooks account, it’s best to merge the entries rather than deleting one of them. To merge customers, follow these steps:
- In the Customer Center, select the duplicate customer you want to merge.
- Click on the “Edit” button and choose “Merge Customers.”
- Select the customer you want to merge the duplicate entry with.
- Review the merge details and click “Merge” to combine the customer records.
Scenario 3: Deleting a Sub-Customer
If you have a sub-customer (also known as a job) associated with a parent customer, you’ll need to delete the sub-customer before you can delete the parent customer. To delete a sub-customer, follow these steps:
- In the Customer Center, click on the parent customer to view the list of sub-customers.
- Select the sub-customer you want to delete.
- Click on the “Edit” button and choose “Delete Sub-Customer.”
- Confirm the deletion when prompted.
Best Practices for Managing Customers in QuickBooks
To maintain an organized and efficient customer list in QuickBooks, consider implementing these best practices:
- Regularly review and update your customer list: Periodically review your customer list to identify any duplicates, inactive customers, or those that need to be deleted. Keeping your list up-to-date will help you maintain accurate financial records and improve overall data management.
- Use consistent naming conventions: Establish and follow a consistent naming convention for your customers to avoid duplicates and make it easier to search for specific customers.
- Utilize customer groups and types: QuickBooks allows you to categorize customers into groups or types based on common characteristics. Utilizing this feature can help you better organize and manage your customer list.
Conclusion
Deleting a customer in QuickBooks is a straightforward process that can help you maintain a clean and accurate customer list. By following the step-by-step guide provided in this article, you can confidently delete customers when necessary. Remember to consider the implications of deleting a customer and evaluate whether making them inactive might be a better alternative in certain situations.
Additionally, by implementing best practices for managing customers in QuickBooks, such as regularly reviewing your customer list, using consistent naming conventions, and leveraging customer groups and types, you can streamline your customer data management and ensure the accuracy of your financial records.
With this comprehensive guide on how to delete a customer in QuickBooks, you now have the knowledge and tools to effectively manage your customer list and keep your QuickBooks account organized and up-to-date.


Add Comment