Discord, the popular communication platform, has become a hub for communities of all kinds, from gaming enthusiasts to professional collaborators. However, there may come a time when you need to part ways with your Discord server, whether due to inactivity, a change in your online presence, or simply a desire to streamline your digital footprint. In this comprehensive guide, we’ll walk you through the process of deleting a Discord server, ensuring a seamless and stress-free experience.
Understanding the Implications of Deleting a Discord Server
Before embarking on the deletion process, it’s essential to understand the implications of removing your Discord server. When you delete a server, the following will occur:
- Permanent Removal: The server and all its associated data, including channels, roles, and settings, will be permanently deleted and cannot be recovered.
- Loss of Member Access: All members of the server will lose access to the server and its content upon deletion.
- Forfeiture of Boosts and Perks: Any server boosts or perks accumulated will be forfeited when the server is deleted.
Preparing for Server Deletion: Backup and Transfer
To ensure a smooth transition, it’s recommended to take the following steps before deleting your Discord server:
- Backup Server Data: Consider exporting or backing up any important data, such as messages, files, or user information, that you may want to preserve. Discord provides various options for server backup and data export.
- Transfer Ownership: If you’re not the sole owner of the server, you may want to consider transferring ownership to another trusted member before proceeding with the deletion.
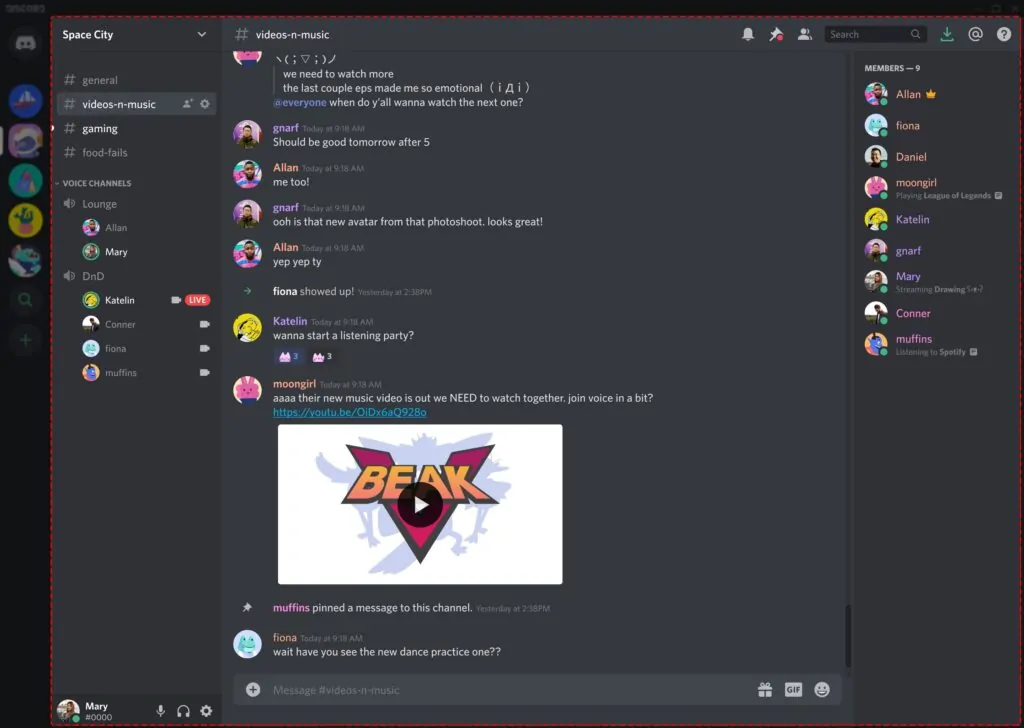
Deleting the Discord Server: Step-by-Step Instructions
Once you’ve completed the necessary preparations, follow these steps to delete your Discord server:
- Log in to Your Discord Account: Access your Discord account, either through the desktop application or the web-based platform.
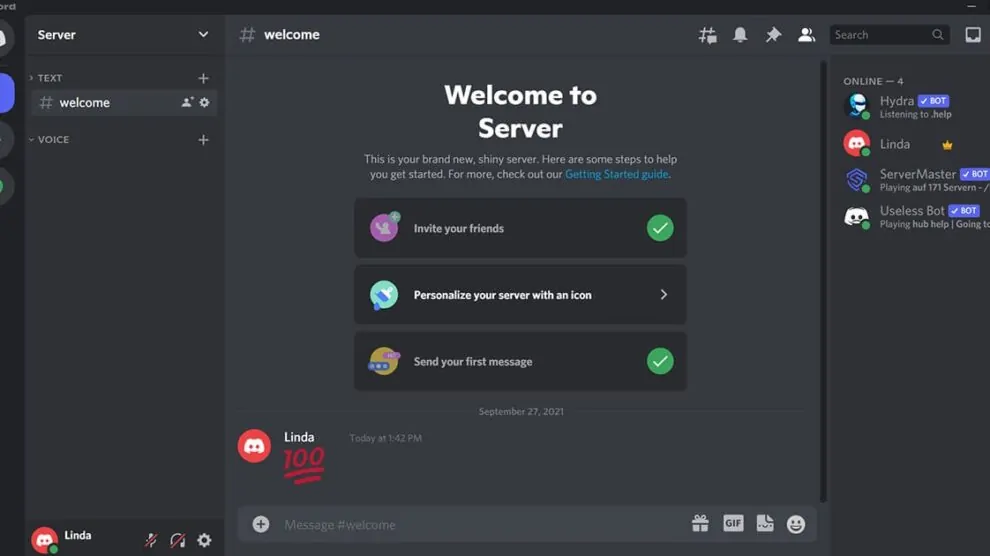
- Navigate to Server Settings: Locate the server you wish to delete and click on the server name to open the server settings.
- Initiate the Deletion Process: In the server settings, look for an option related to “Delete Server” or “Remove Server.” Click on this option to begin the deletion process.
- Confirm the Deletion: Discord will prompt you to confirm your decision to delete the server. Carefully review the information and select the appropriate option to finalize the deletion.
Exploring Alternative Community Platforms
After deleting your Discord server, you may find yourself in search of alternative community platforms to connect with like-minded individuals. Consider exploring other options, such as:
- Reddit Communities: Reddit offers a vast array of subreddits catering to diverse interests and communities.
- Facebook Groups: Facebook’s group feature allows you to join or create communities based on your preferences.
- Specialized Forum Platforms: Depending on your interests, there may be dedicated forum platforms that cater to your specific needs.
Conclusion: Embracing Change and Moving Forward
Deleting a Discord server can be a significant decision, but it can also be an opportunity to streamline your online presence and explore new avenues for community engagement. By following the steps outlined in this guide, you can navigate the server deletion process with confidence, ensuring a seamless and stress-free experience.
Remember, the decision to delete your Discord server is a personal one, and it’s essential to weigh the pros and cons carefully before taking action. Embrace the change, backup any important data, and embark on your next digital adventure with a renewed sense of purpose and control.






Add Comment